はじめに
こんにちは、荻野です。
先日、EB(Elastic Beanstalk)でEFS(Elastic File System)が利用可能となったことがアナウンスされていました。まだEFSが東京リージョンにきていないため、すぐに利用できるシーンはないかもしれませんが、予行練習も含めてEB With EFSを触ってみました。
試してみる
今回はawslabsのこちらのレポジトリを参考にロードバランシングされたWord Pressを作成してみたいと思います。READMEを参考に進めていきます。今回はEB CLIを利用しますよ!
# 作業ディレクトリの作成
$ mkdir wp-eb-with-efs; cd $_

# WordPressのダウンロード
$ wget https://wordpress.org/wordpress-4.6.1.tar.gz
$ tar -zxvf wordpress.tar.gzordpress.tar.gz && rm wordpress-4.6.1.tar.gz
$ mv wordpress/* . && rm -rf wordpress

# EBサンプルコンフィグのダウンロード
$ wget https://github.com/awslabs/eb-php-wordpress/releases/download/v1.0/eb-php-wordpress-v1.zip
$ unzip eb-php-wordpress-v1.zip && rm eb-php-wordpress-v1.zip
EBのセットアップをしていきます。
# 今回はEFSを使いたいのでバージニアリージョンにします
$ eb init --platform php7.0 --region us-east-1

# sshの設定
$ eb init
annot setup CodeCommit because there is no Source Control setup, continuing with initialization
Do you want to set up SSH for your instances?
(Y/n): y

Select a keypair.
1) [ Create new KeyPair ]
(default is 1): 1 # 新規作成しました

Type a keypair name.
(Default is aws-eb): seiya-eb
.
.
アプリケーションを作成します。
# RDSも含めてアプリケーション作成
eb create eb-wordpress --sample --database --vpc

Enter an RDS DB username (default is "ebroot"): #RDS USER
Enter an RDS DB master password: # RDS PASS
Retype password to confirm: # PASS Retype

Enter the VPC ID: vpc-xxxxxxxx
Do you want to associate a public IP address? (Y/n): y
Enter a comma-separated list of Amazon EC2 subnets: subnet-xxxxxxxx
Enter a comma-separated list of Amazon ELB subnets: subnet-xxxxxxxx
Enter a comma-separated list of Amazon VPC security groups: sg-xxxxxxxx
Do you want the load balencer to be public? (Select no for internal) (Y/n): y
Enter a comma-separated list of database subnets: subnet-xxxxxxxx
Environment details for: eb-wordpress
  Application name: wp-eb-with-efs
  Region: us-east-1
  Deployed Version: Sample Application
  Environment ID: e-5pm35bbvuq
  Platform: arn:aws:elasticbeanstalk:us-east-1::platform/PHP 7.0 running on 64bit Amazon Linux/2.3.2
  Tier: WebServer-Standard
  CNAME: UNKNOWN
  Updated: 2017-03-12 16:17:00.771000+00:00
しばらくするとeb statusがReadyになりますので、eb openでブラウザを起動します。
$ eb status | grep Status
  Status: Ready
$ eb open
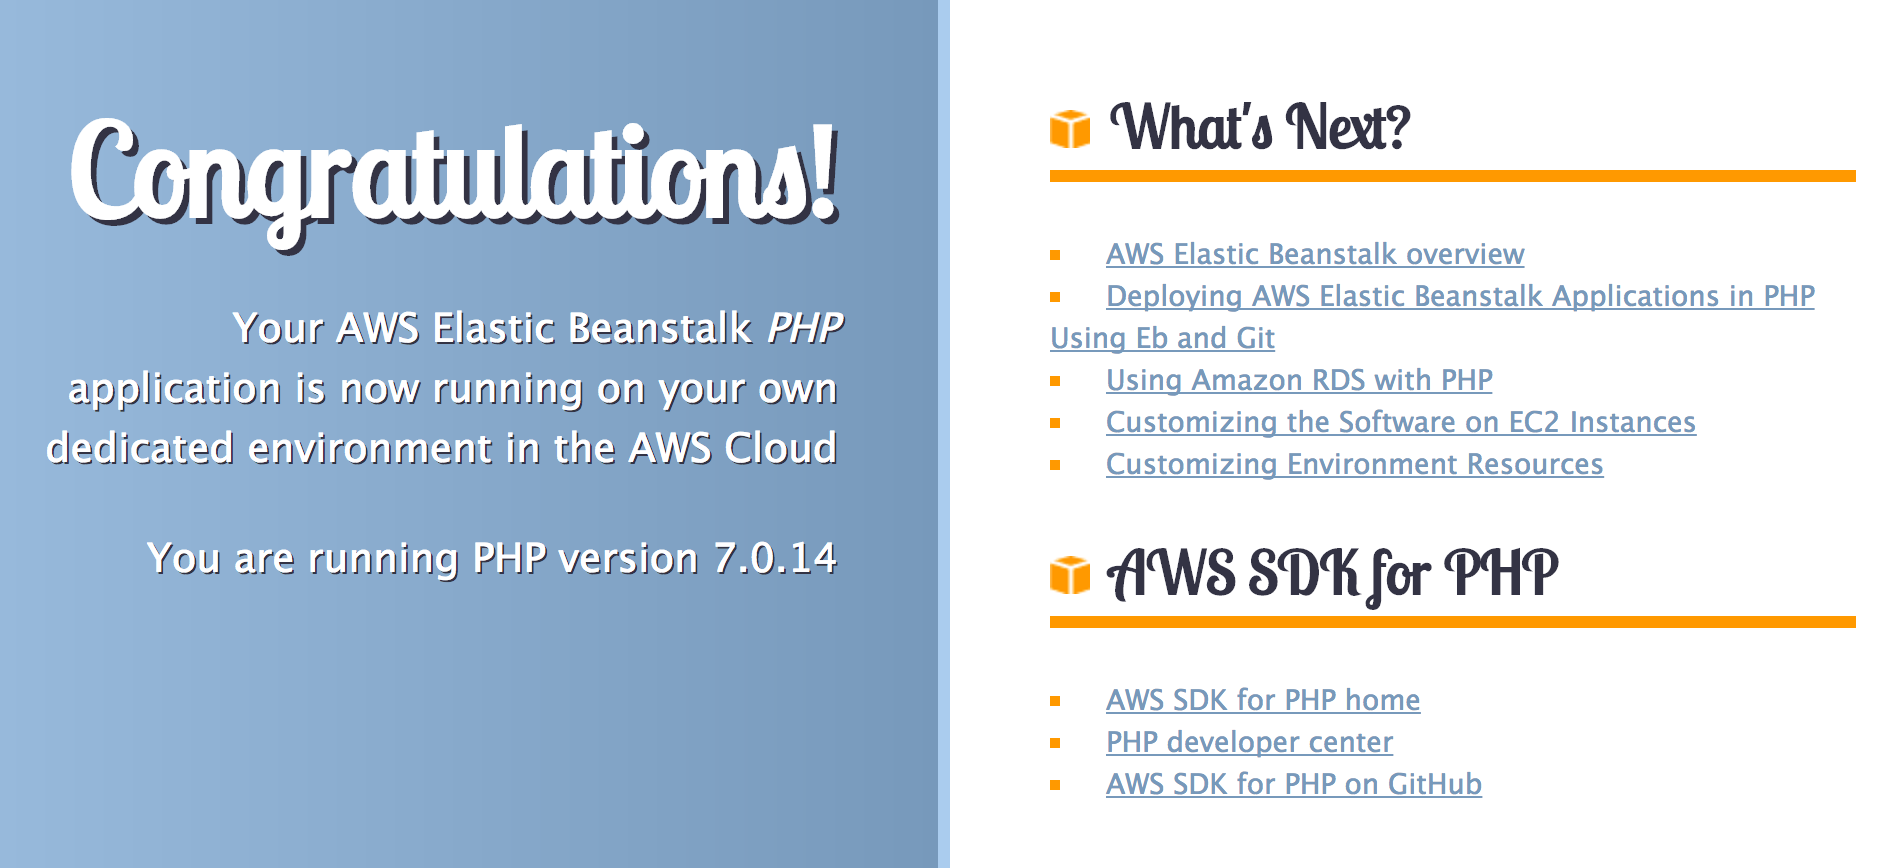
初期画面です。まずはこれが表示されていればOKです。
いよいよWordPress + EFSをデプロイしていきます。
まずは.ebextensions/dev.configを編集します。変更箇所はMyIPとSSHSourceRestrictionです。127.0.0.1を自分のグローバルIPに変更します。
ption_settings:
   aws:elasticbeanstalk:customoption:
     MyIP: "127.0.0.1/32" # ここと

## Prevent Beanstalk from adding SSH ingress to instance SG
   aws:autoscaling:launchconfiguration:
   SSHSourceRestriction: tcp, 22, 22, 127.0.0.1/32 # ここ
次に.ebextensions/efs-create.configを編集します。変更箇所はVPCIdとSubnet(A-C)です。今回利用する環境に合わせて変更します。
option_settings:
  aws:elasticbeanstalk:customoption:
    EFSVolumeName: "EB-EFS-Volume"
    VPCId: "vpc-XXXXXXXX"
## Subnet Options
    SubnetA: "subnet-XXXXXXXX"
    SubnetB: "subnet-XXXXXXXX"
    SubnetC: "subnet-XXXXXXXX"
ここまで完了したらeb deployでWordPressをdeployします。
$ eb deploy
しばらくするとeb statusがReadyになりますので、ふたたびeb openでブラウザを起動します。
$ eb status | grep Status
  Status: Ready
$ eb open
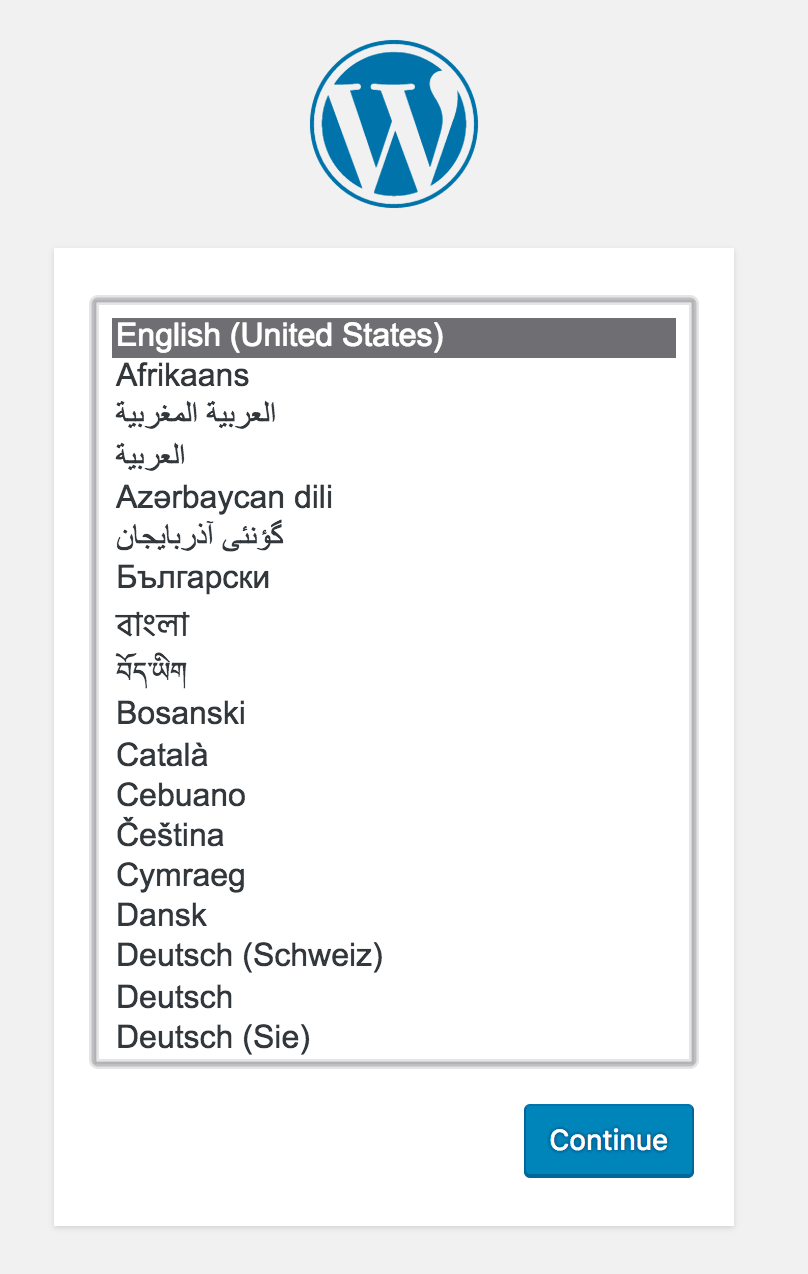
WordPressのセットアップ画面が表示されれば成功です。
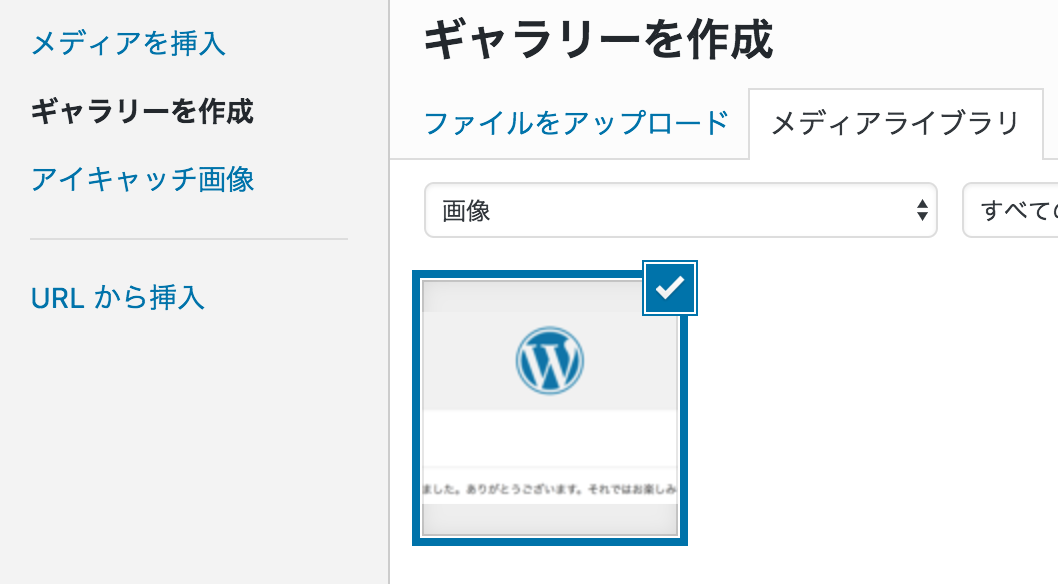
今回はEFSのマウント領域である/wpfilesはwp-content/uploadsにリンクされているので、試しに画像をアップして保存されるか確認してみます。
画像が保存されたかサーバを確認してみます。
$ hostname
ip-10-101-11-98
#EFSマウント領域
$ tree /wpfiles
/wpfiles
└── 2017
    └── 03
        ├── test-1024x327.png
        ├── test-1200x383.png
        ├── test-150x150.png
        ├── test-300x96.png
        ├── test-768x245.png
        └── test.png
ひとまずファイルは保存されていました!次にサーバをスケールアップしてみます。
$ eb scale 2
スケールアップ後、新しく作成されたサーバにログインしてファイルを確認してみます。
$ hostname
ip-10-101-10-230
$ tree /wpfiles/
/wpfiles/
└── 2017
    └── 03
        ├── test-1024x327.png
        ├── test-1200x383.png
        ├── test-150x150.png
        ├── test-300x96.png
        ├── test-768x245.png
        └── test.png
この通り、無事にEFSがマウントされてファイルを共有できています!
おわりに
今回のサンプルを確認してみると、EB + EFSの鍵はやはり.ebextensionsのようです。EFSを新しく作るなら.ebextensions/efs-create.configのResources Type: AWS::EFS::*のあたりがポイントになりそうです。また、マウントするときには.ebextensions/efs-mount.configが大変参考になりそうです!
あとは東京リージョンにもEFSが降臨すればガンガン使い倒せそうですねwそれでは、よいElastic Beanstalkライフをお送りください!


