I would like to write about using AWS CodeStar to develop and build applications quickly deploy to AWS in this article. Following simple steps below you can quickly launch CodeStar service in AWS.
• Step 1: Create an AWS Account
• Step 2: Create the AWS CodeStar Service Role
• Step 3: Create or Use an IAM User
• Step 4: Create an Amazon EC2 Key Pair for AWS CodeStar Projects
• Step 5: Open the AWS CodeStar Console
• Step 6: Choose a Project Template
• Step 7: Setup tools and Start Coding
• Step 8: Monitor using Cloud Watch Logs
• Step 9: Continuous Deployment
• Step 10: Cloud Formation Template
Step 1: to Step 4 details are not shown in this article, URLs to create are as follows;
Step 1:
https://docs.aws.amazon.com/AmazonSimpleDB/latest/DeveloperGuide/AboutAWSAccounts.html
Step 2:
https://docs.aws.amazon.com/codestar/latest/userguide/access-permissions.html
Step 3:
https://docs.aws.amazon.com/IAM/latest/UserGuide/id_users_create.html
Step 4:
https://docs.aws.amazon.com/ja_jp/AWSEC2/latest/UserGuide/ec2-key-pairs.html
Step 5:
Open the AWS CodeStar Console from the AWS services
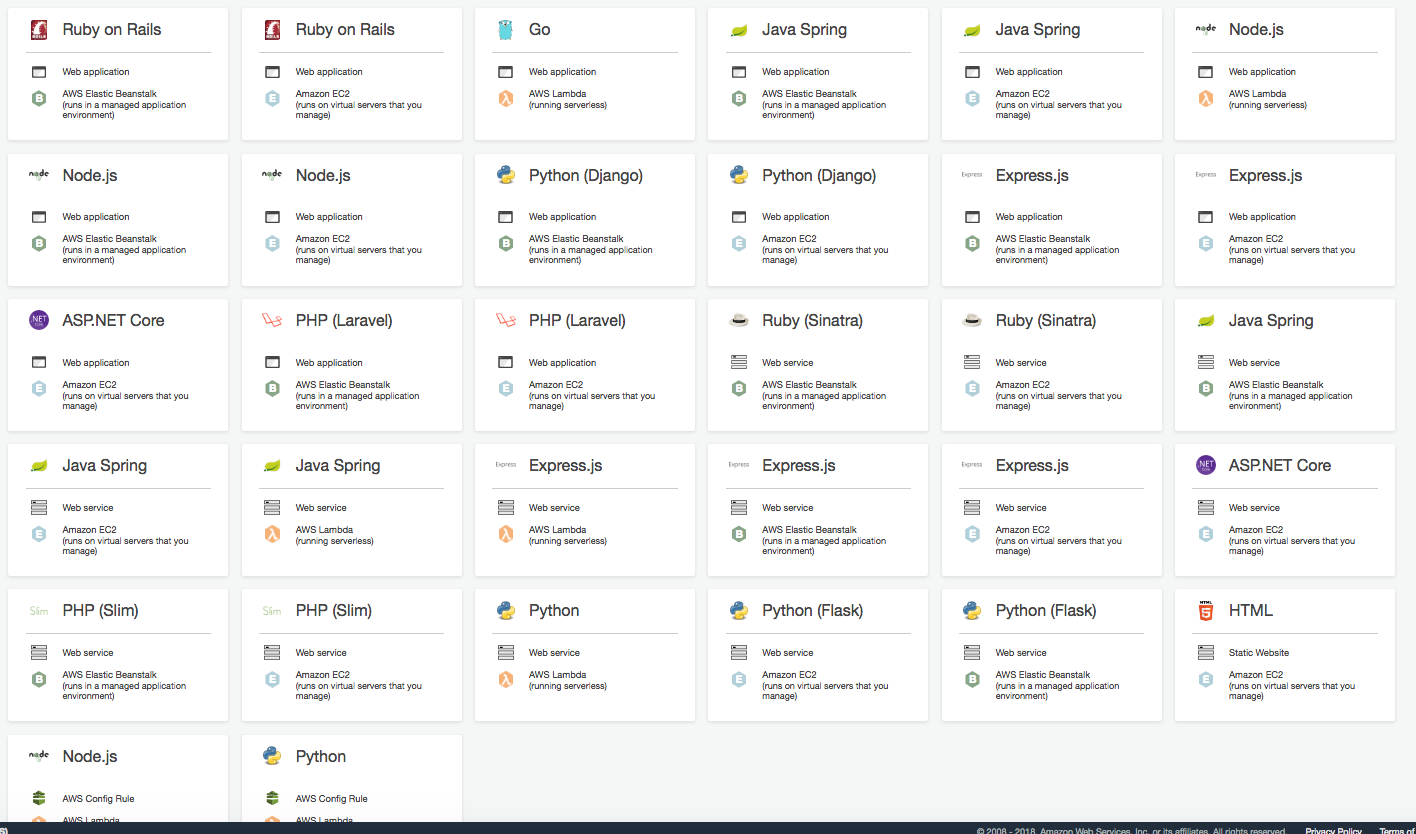
Step 6:
Choose a Project Template,
Project Template:
Choose Project Template
1. Runs on Virtual Server that you Manage
2. Runs in a Managed Application Environment
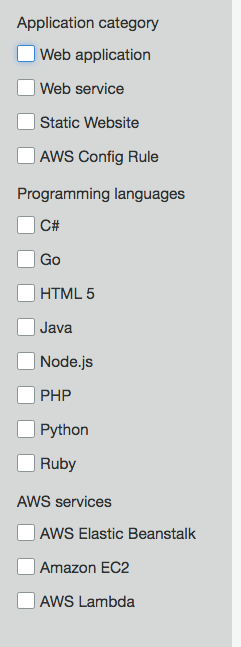
Below are list of Applications to choose,
Choose Application Category,
I choose JAVA and PHP (Slim) Web Application and Elastic Beanstalk Environment this time
Project Details
Choose Options for Code Repository
1. AWS CodeCommit
2. GitHub
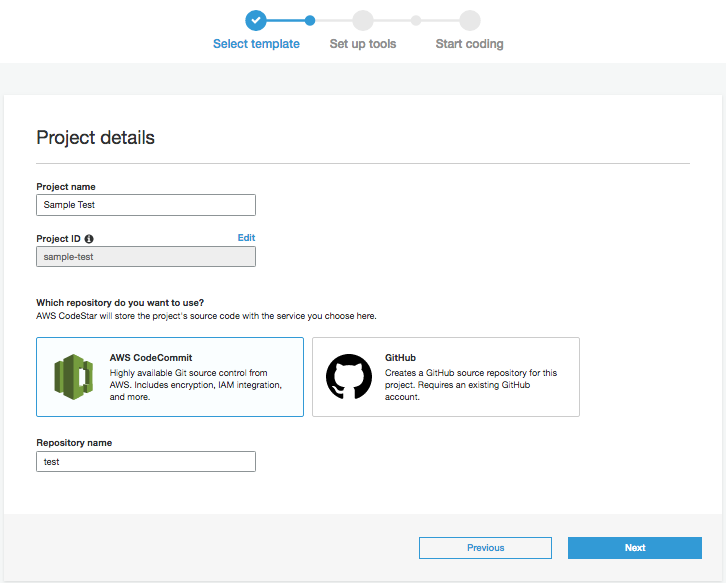

I choose AWS CodeCommit in this test,
AWS CodeCommit
Step 7:
Setup tools and Start Coding,
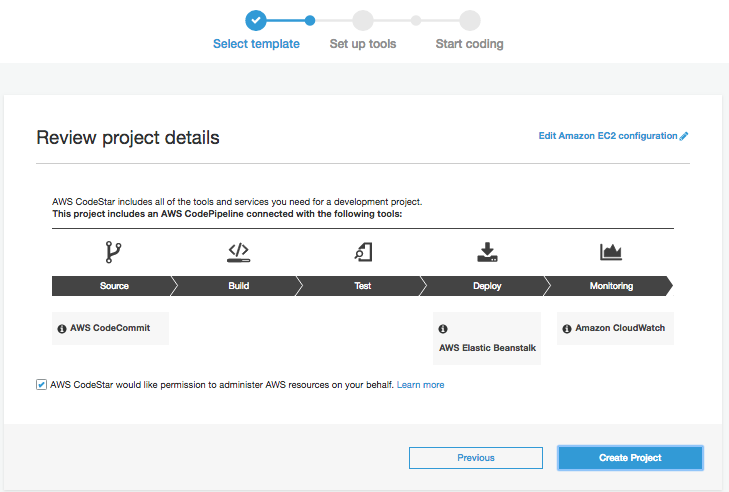
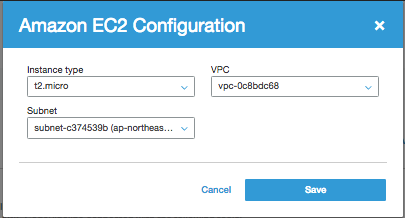
Option for choosing EC2 Configuration
-> VPC Configuration
-> Subnet Configuration
Choose EC2 Key Pair
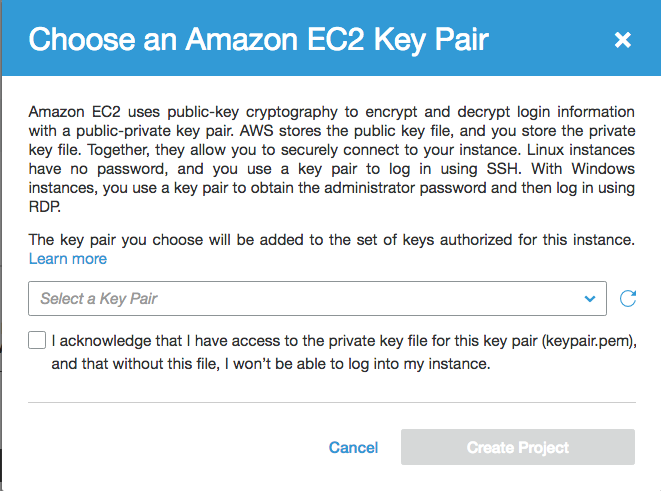
Choose EC2 Key Pair

Choose how to edit code
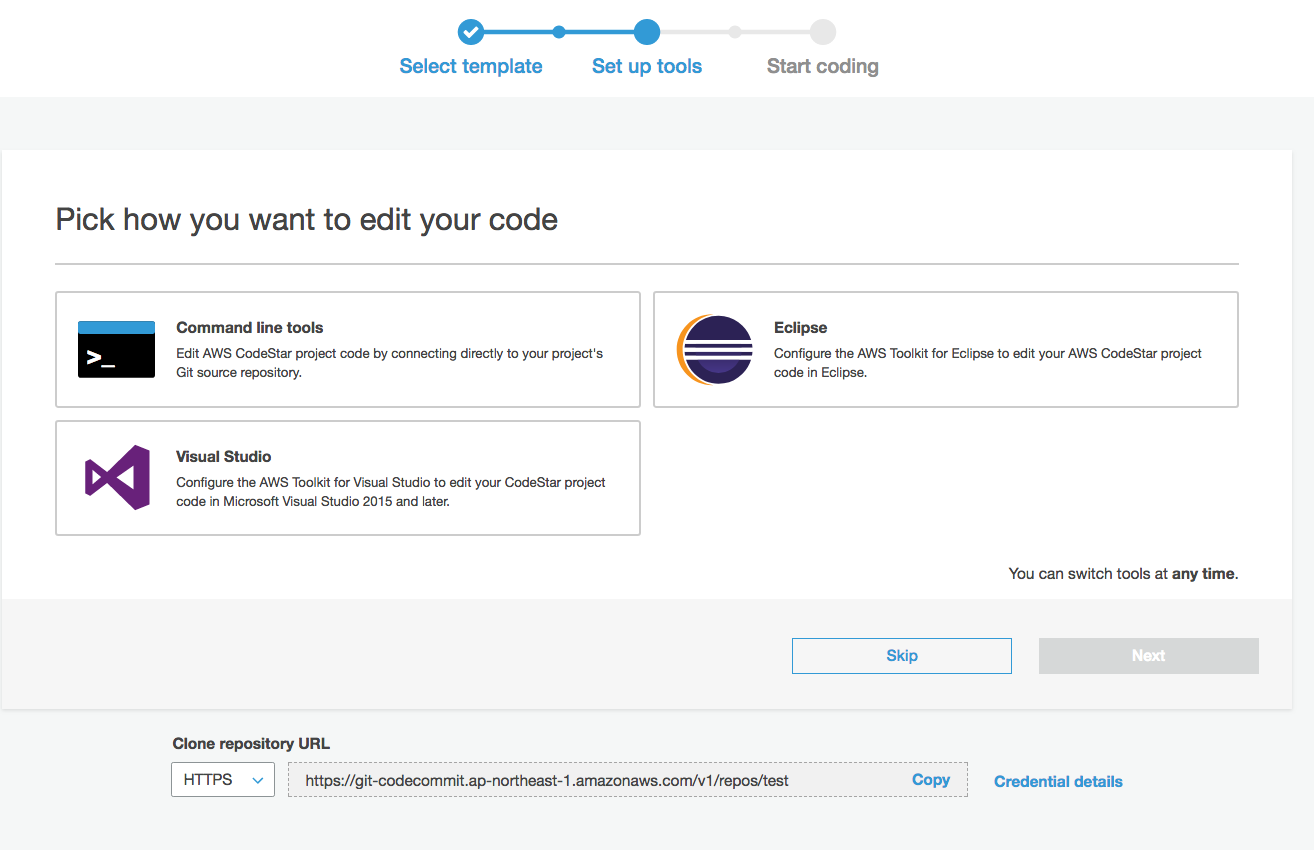
Choose HTTPS and SSH Credential Details

DashBoard

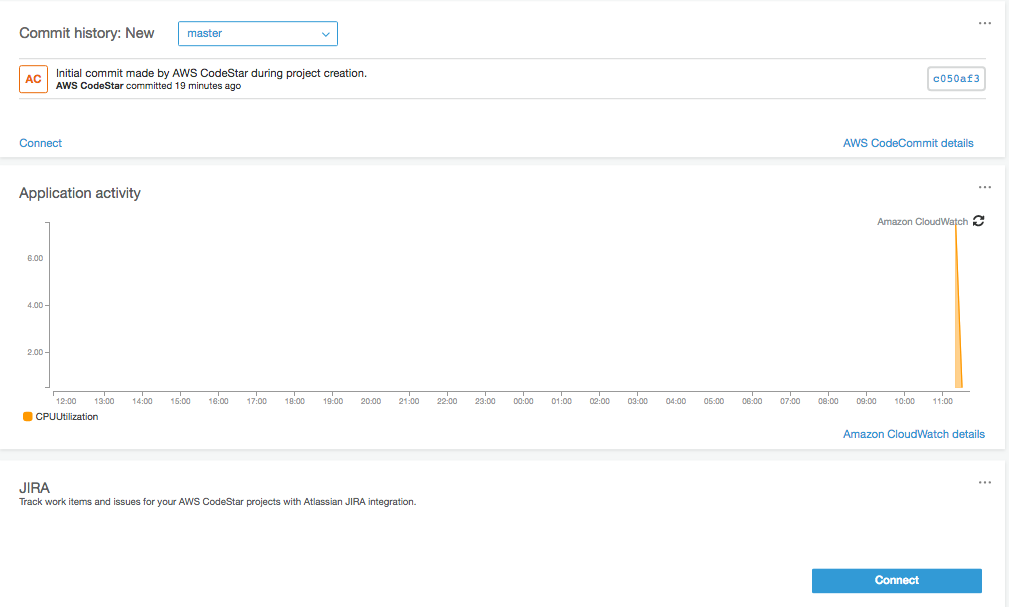
Step 8:
Monitor Cloud Watch Logs and Commit History
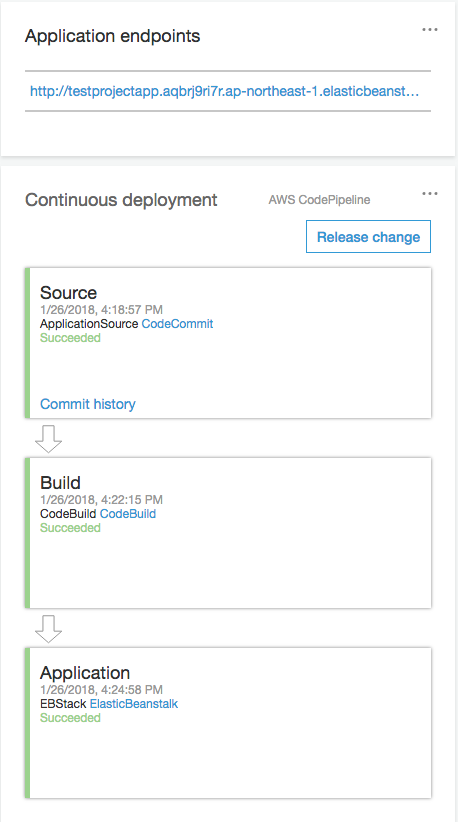
Step 9:
Continuous Deployment
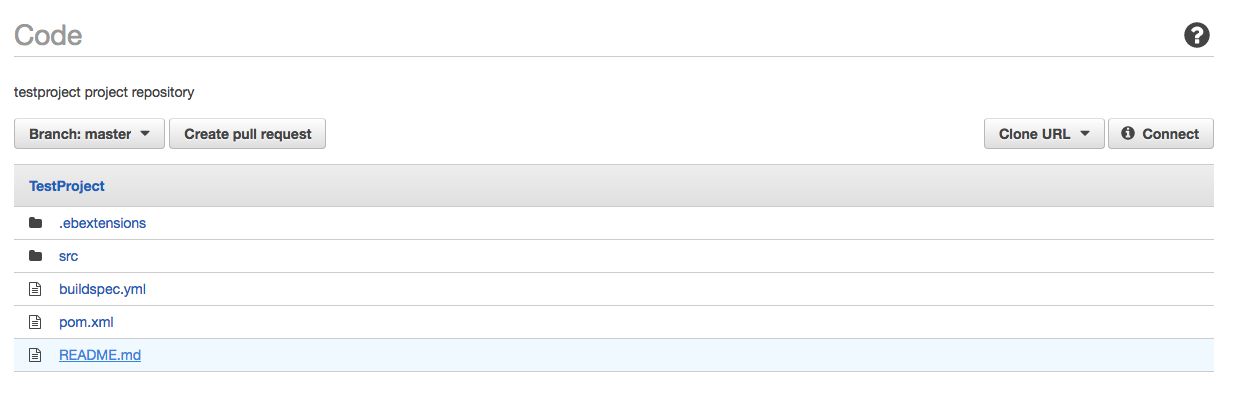
Code
buildspec.yml and pom.xml files are also created as shown below,
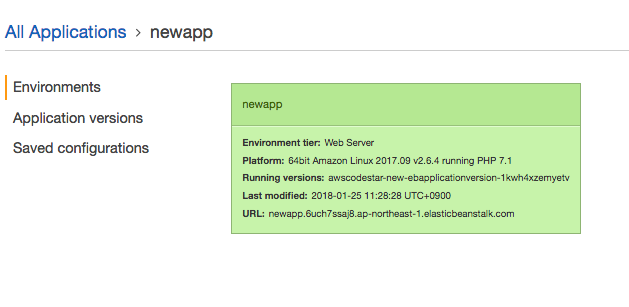
Deploy
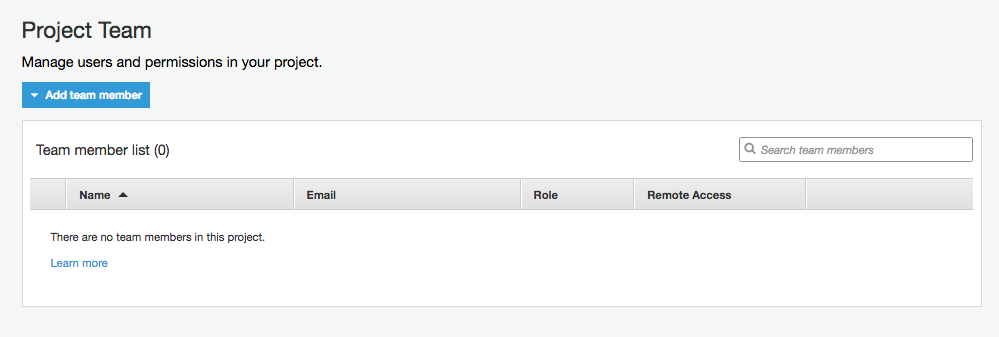
Team
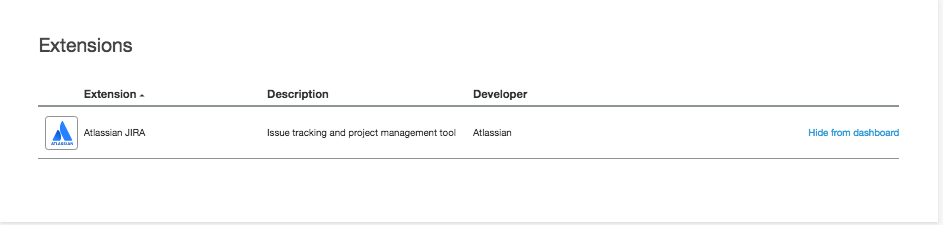
Extensions
Project Details
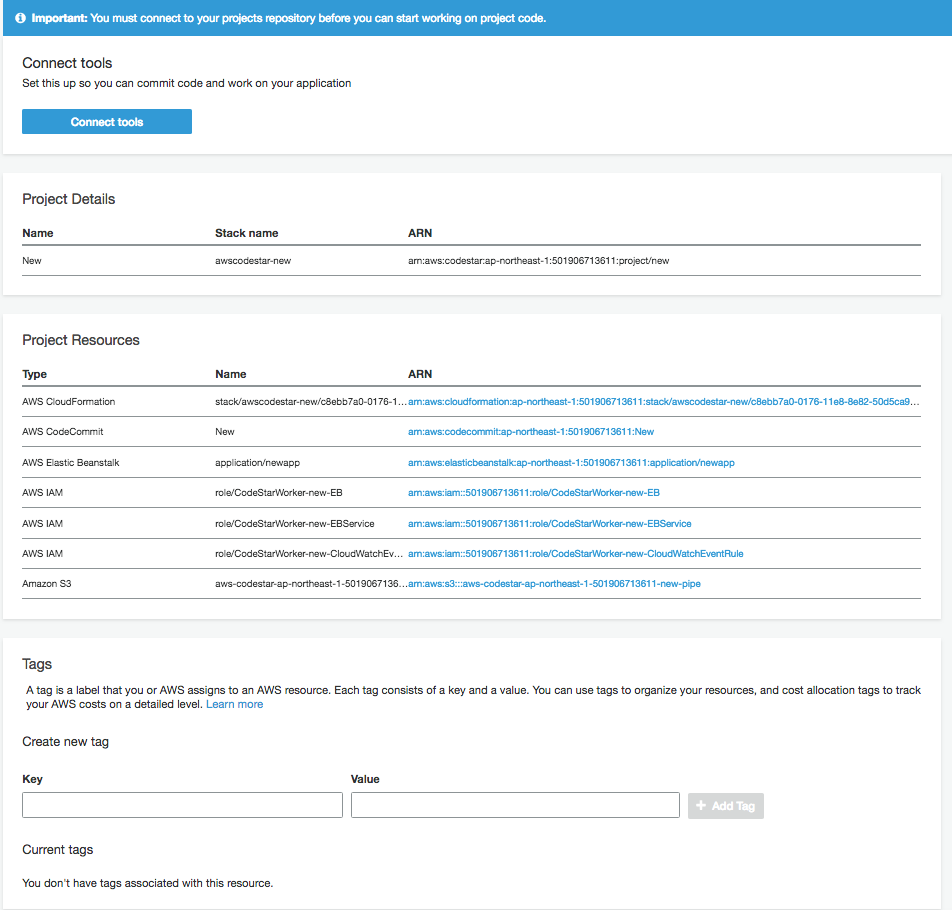
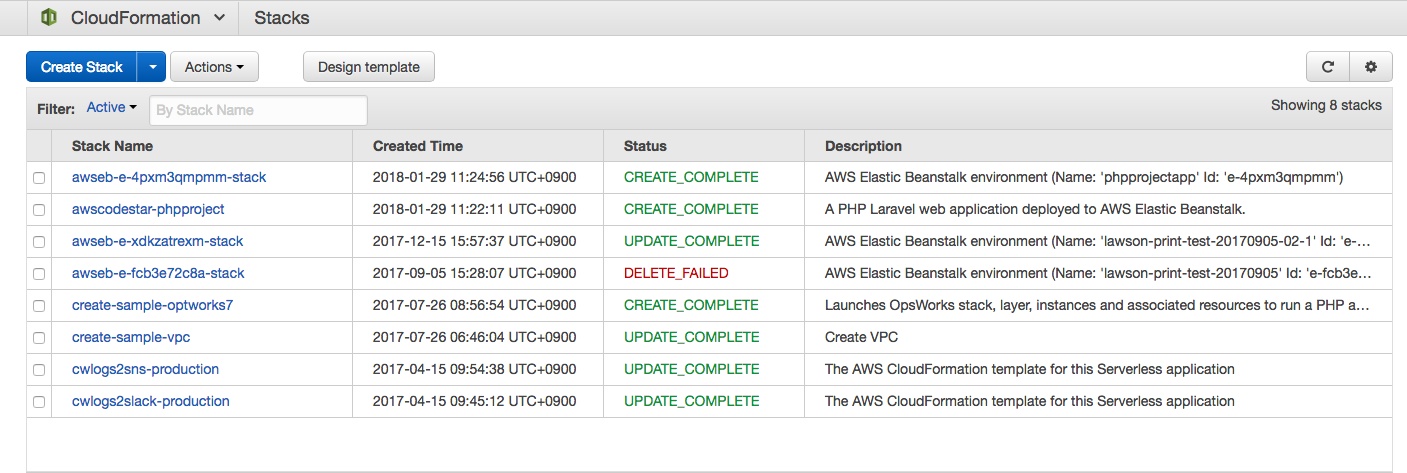
Step 10:
Cloud Formation Template
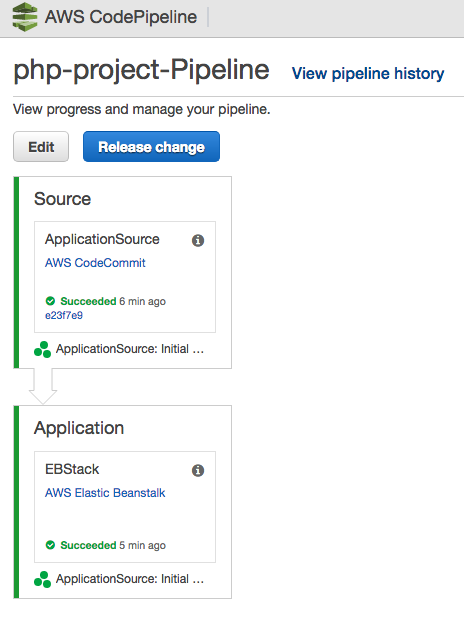
JAVA-Project-Pipeline
Cloud Formation Template:

Click on application end point,
and you have created Java Spring web-application!

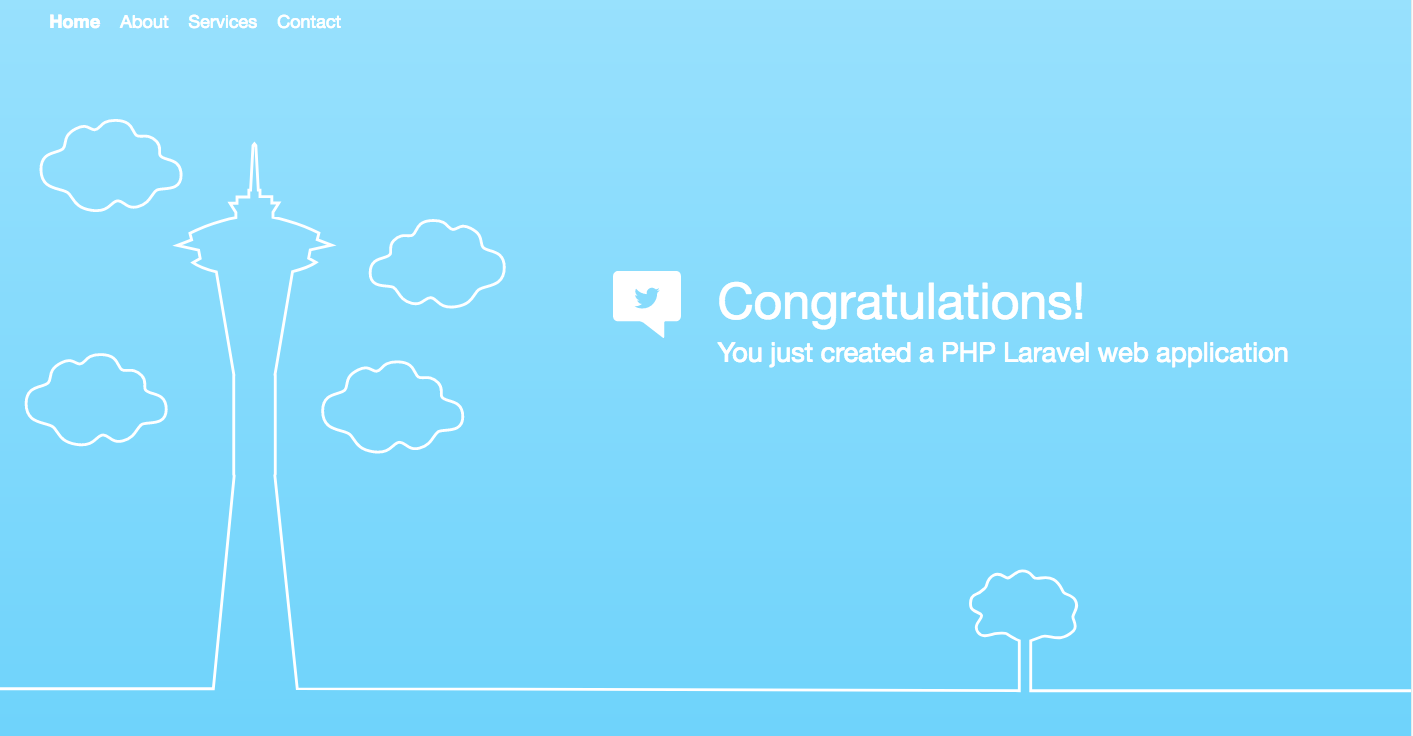
Click on application end point,
and you have created PHP Spring web-application!
Conclusion:
Create, Code, Commit, Deploy, Monitor using Cloud Watch Logs and Manage in Cloud Formation all Resources in Code Star.
** Congratulations** now you are ready to create a project in AWS Code Star!